Create Items
When creating a new Item Master, the Basic, Locations, and Vendors tabs will be available for completion. When eChart is enabled for a center, the Medications tab will also be available for setting up related medications.
 Best Practice
Before creating a new Item Master, be aware of the following:
- On the Basic tab, it is recommended that the MFG Catalog Number is entered for ease of looking up items when discussing with vendors.
- It is also recommended that at least one Location is entered for each item, such as "Store Room", to aid in Physical Counts. Sub Locations can then be used to further enhance the use of the Physical Count sheet by adding locations such as "Drawer 1", "Shelf A", etc.
Create new item master
2. Click  New on the Main Form Toolbar. The form is ready for data entry, as shown below.
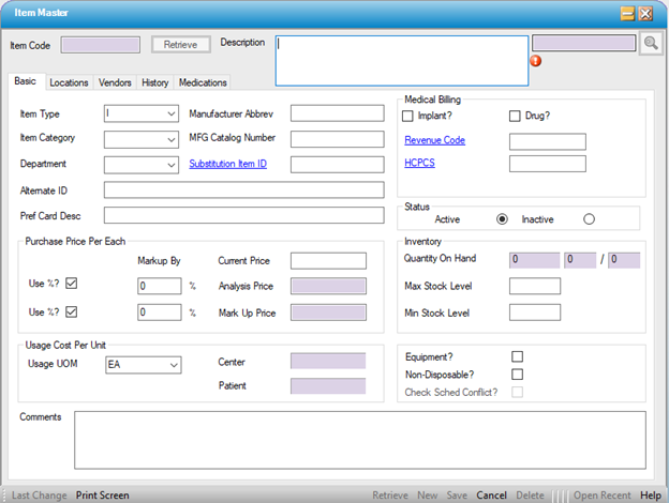
3. Enter the Description This is a required field, as indicted by the error ball  .
.
4. Enter additional information as needed. See Item Master for field details.
5. Click  Save
Save
6. Click on the Locations tab
7. Click  New Location in the Sub Form Toolbar
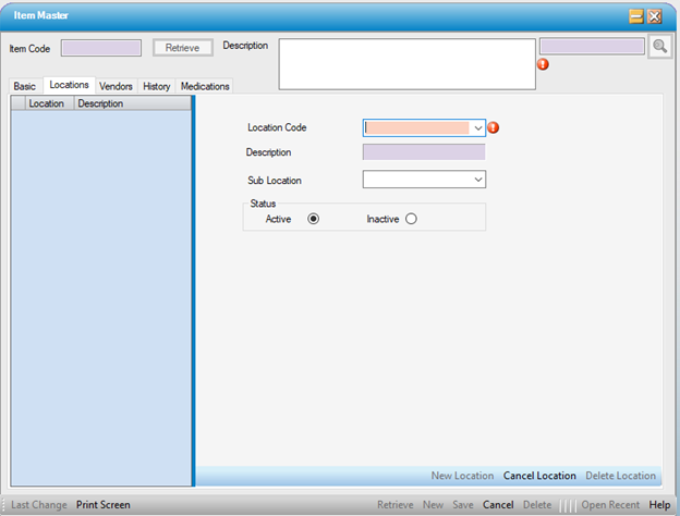
8. Select the Location Code from the drop-down. The Description displays.
9. Select a Sub Location if desired.
10. Click Save
11. Click on the Vendors tab
12. Click New Vendor in the Sub Form Toolbar
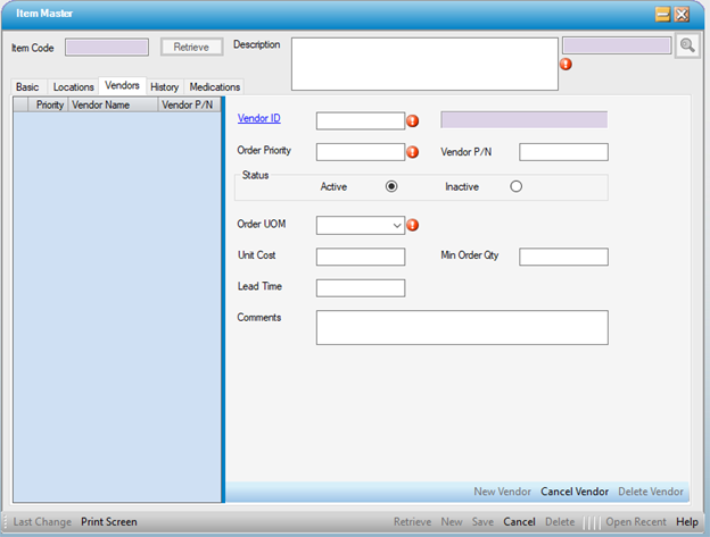
13. Enter the Vendor ID or click on  hyperlink to search for the Vendor using the Field Look Up.
14. Enter the Order Priority
15. Select the Order UOM from the drop-down
16. Enter other data fields as needed.
17. Click Save