Item Master
Inventory > Item Master
The Item Master is where inventory items are created and updated, including locations and vendor ordering information. When creating a new item, the Item Code can either be system generated or created by the user, depending upon how the system is configured. Once an Item Code is assigned, it cannot be changed.
Items can be entered manually or via the Item Master (import or update) Data Import template.
The Item Master consists of four tabs:
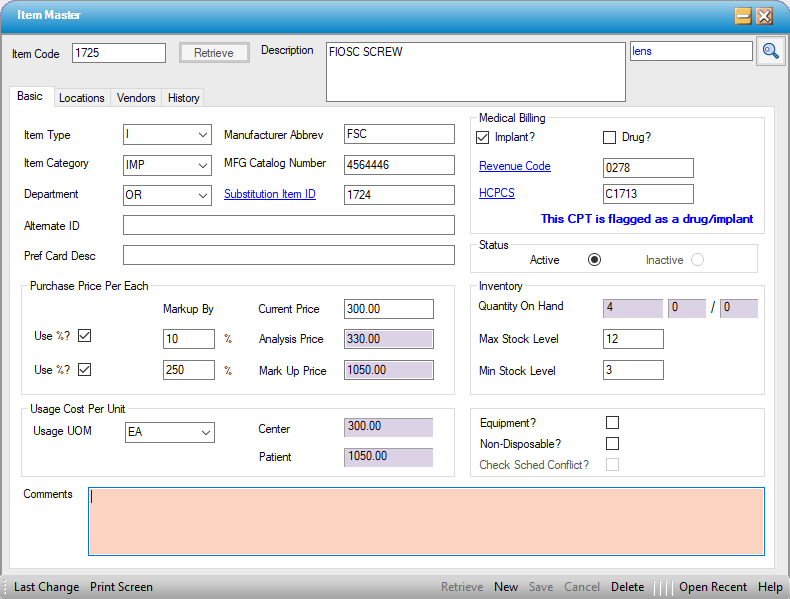
Basic Tab
-
Enter a Description for the supply item.
-
There are four choices for item type:
-
Inventory - quantities will deplete if running perpetual inventory
-
Non-inventory - items do not deplete quantities but cost is still included on cost reports
-
Loan - item was borrowed and is being added to the list for preference card selection
-
Consignment - items can be excluded from the value of supplies on hand
-
-
The items category and department can be selected from the available drop-downs. These lists will populate with the data from the corresponding Code Tables, which are created and maintained by the organization.
-
Manufacturers Abbrev and MFG Catalog Number are free text fields in which this information can be entered.
-
Substitution Item ID can be used if the item is out of stock but another item can act as a replacement. Enter the item number in the substitute Item ID field or utilize the hyperlink to search.
-
Alternate ID and Pref Card Desc are available for identifying other ways that an item may more commonly be identified. The supply will print on the preference card with the preference card description versus the manufacturer's description.
The Purchase Price Per Each section provides the ability to record the cost of the item and calculate prices for both analysis and billing.

-
Current price is the cost of the item, based on how it is used. For example, an abduction sling may come in a box of 5, with a cost of $179.75 for the box, but only one sling would be provided per patient, so the cost entered would $35.95.
-
Analysis Price allows centers to enter a mark-up or higher price for cost reporting. Check the Use %? checkbox and enter a percentage to increase the current pricing by an average percentage for costs such as sales tax or shipping costs, or uncheck the Use %? checkbox and enter a flat rate that includes the actual taxes, shipping, and/or handling for the item.
-
Mark Up Price is for billable supplies, such as implants and drugs. Once again, Check the Use %? and enter standard percentage, or uncheck the Use %? Box and enter a flat fee.
NOTE: The system assumes the cost at 100%, so if the desired mark-up is 250%, enter 150 in the Mark Up By field to calculate a total price of 250% of cost.

-
In the Usage Cost Per Unit section, select the unit of measure that will be used and/or billed. For most items, this should be each - as opposed to the purchasing unit of measure, which may be by box or case.
-
The center and patient fields are read only and will populate from the fields in the previous section.
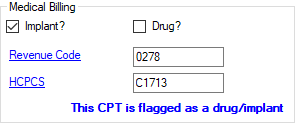
The Medical Billing section needs to be completed for billable supplies to be available for selection using the Load Inventory function in Charge Entry.
-
Check the Implant? or Drug? checkbox to indicate whether the item is an implant or drug.
-
Enter a Revenue Code or select the hyperlink to search. The Revenue Code must be entered to flag this item as billable so that it appears on the Load Inventory form in Charge Entry.
-
Enter a HCPCS code or select the hyperlink to search. HCPCS codes will populate in Charge Entry for those claims that are billed in the Professional claims format.
NOTE: If the HCPCS Code has been categorized as a drug or implant in CPT Code configuration, an alert will be visible here to remind users to check that box here as well.

-
Active and Inactive radio dials are available for items that are no longer in use but cannot be deleted because they have been entered on a case. Items cannot be inactivated, however, if they exist on a preference card, are used in eChart, or have been categorized as equipment. The Inactive radio dial will be disabled, and an
 icon will be visible with a hover message indicating why.
 -
For equipment, the corresponding equipment record must be inactivated first.
-
For items used in eChart or on a Preference card, they must first be removed from the preference cards and/or orders.
-
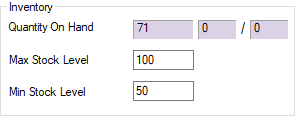
The inventory section will indicate the Quantity On Hand, which will be read only.
-
Minimum and Maximum stock levels can be entered here. The minimum and maximum levels will be based on the usage unit of measure, which is typically each.
-
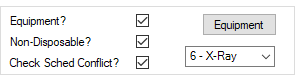
When the Equipment? box is checked, a function key and drop-down will appear. The function key allows users to complete the Equipment form with data relevant to things such as Warranty and Service History. There is a separate video on completing the Equipment form.
-
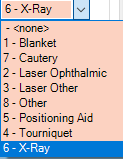
The drop-down provides the ability to select the type of equipment.
-
Conflict checking can help prevent cases utilizing the same piece of equipment from being scheduled simultaneously. To enable, check the box in the item master and, on the Scheduling tab of Center Configuration, select whether to warn the scheduler of the conflict, or prevent scheduling (which will create a hard stop when a conflict exists).
NOTE: For the scheduling conflict to work, preference cards must be attached to the scheduled procedure, and the equipment must be listed on the preference card with a quantity.
-
Comments is a free text field for entering additional information relevant to the Item.
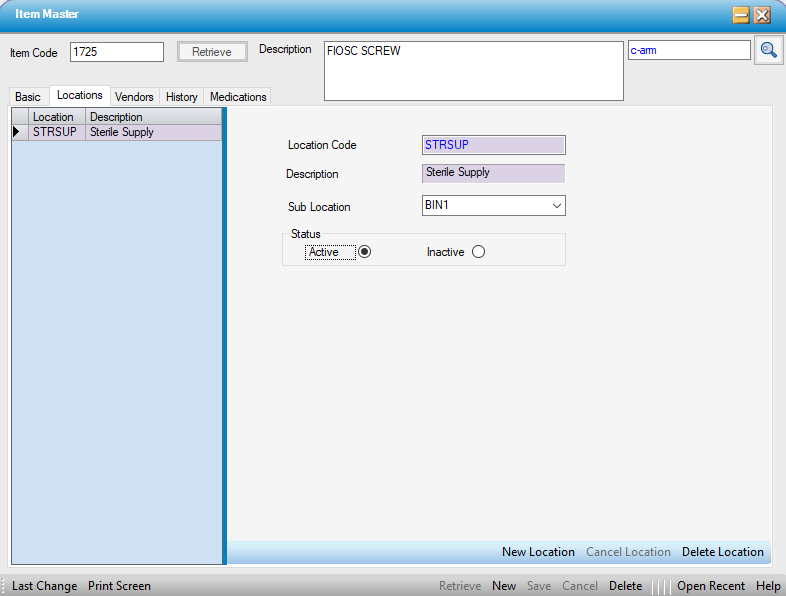
Locations Tab
The Locations tab indicates where the Item is located, both for ease of pulling items for a case and performing Physical Counts. It provides both a Location, which is the room or department in which the Item is located, as well as a Sub Location, which may be the shelf, drawer, or bin in which it is stored.
-
Select New Location from the navigation tool bar to enter a location.
-
Select a location from the Location Code drop-down. This drop-down populates from the Inventory Location code table, created and maintained by the center.
-
When a Location Code is selected, the Description will populate and will be read only.
-
Select a secondary location from the Sub Location drop-down. This drop-down populates from the Inventory Sub Location code table, created and maintained by the center.
-
Select the Inactivate radio dial to inactivate a location. Locations cannot be deleted if they have been added to a preference card, but they can be inactivated.
-
To add additional locations, select New Location and complete the fields again for additional locations in which the item may be stored.
Vendors Tab
The Vendors tab provides the ability to list the vendors from whom Items are purchased as well as relevant purchasing information.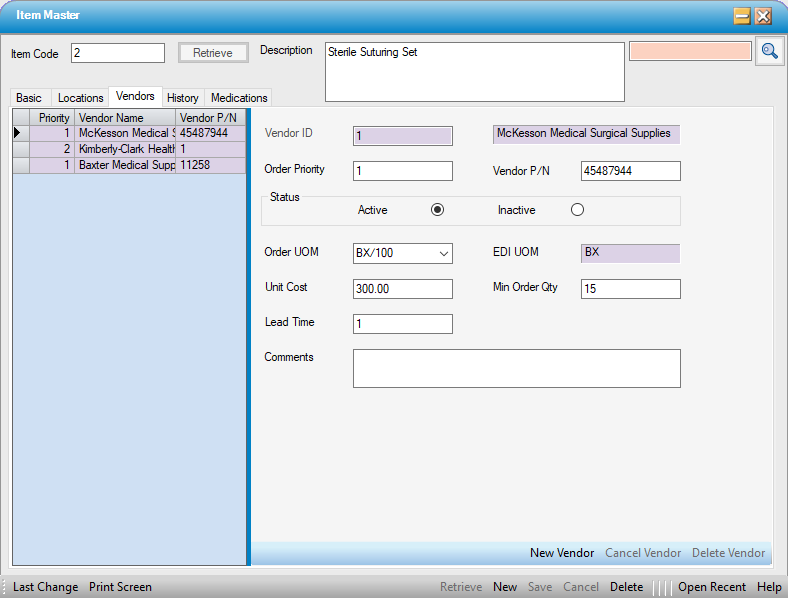
-
Enter the Vendor ID or select the hyperlink to search by Name.
-
Enter the Order Priority. If this Vendor is the center’s first choice for this Item, enter 1 … and so on.
-
Enter Vendor P/N. Though this is an optional field, it is required for EDI. It also prints on the Vendor Purchase Order.
-
Select the Order UOM from the drop-down. This is the unit of measure in which the item is ordered, which differs from the unit of measure on the Basic tab, which indicates the unit of measure in which the item is used. This drop-down populates from the Unit of Measure code table, created and maintained by the center.
-
Enter the Unit Cost.
-
If the Vendor has a Minimum Order Quantity, this can be entered here.
-
There is also a field for Lead Time, which is prudent for items that may take longer than average.
-
Comments is a free text field.
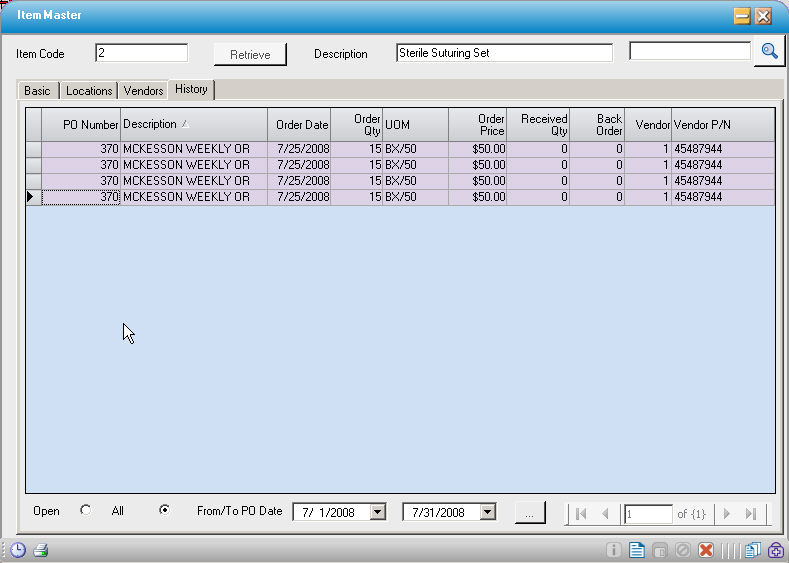
History Tab
The Inventory History Tab is a useful tool to determine whether there are Open Purchase Orders for the item and the quantity on order.
The History form is a display only form and is automatically updated by HST Practice Management when a purchase order is created for that item.
The form defaults to Open purchase orders. Select the All radio dial to review a date range of all purchase orders for the item. After selecting the desired date range, select the ellipsis  to view all purchase orders.
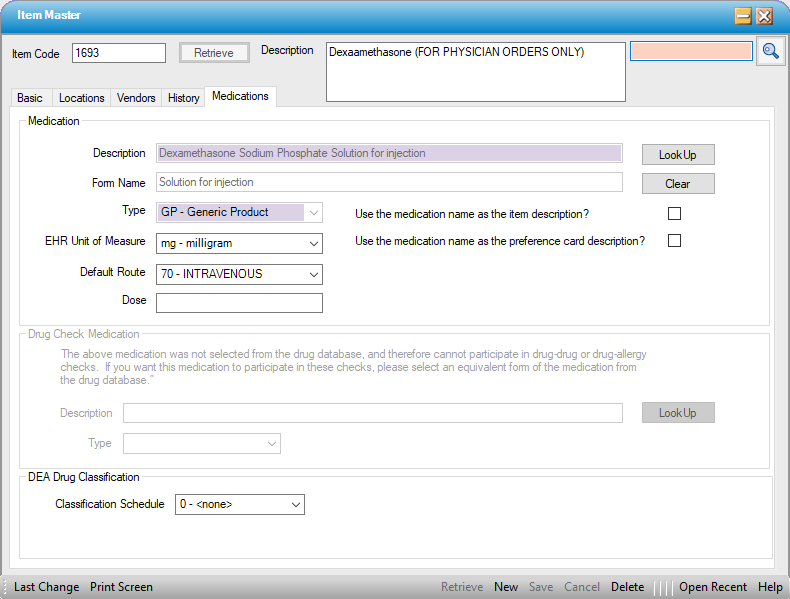
Medications tab
When HST eChart is enabled for the center, the Medications tab will display for setting up related medications. Only medications that have been linked in the Item Master will be available for ordering and administering in eChart. Please refer to the HST eChart Medications Help File for instructions on completing this tab.